Managing your Digital Certificate
Managing Your Digital Certificate in eNotaryLog
Managing your digital certificate is an essential aspect of your role as a Notary on the eNotaryLog platform. Follow these detailed steps to upload and manage your digital certificate:
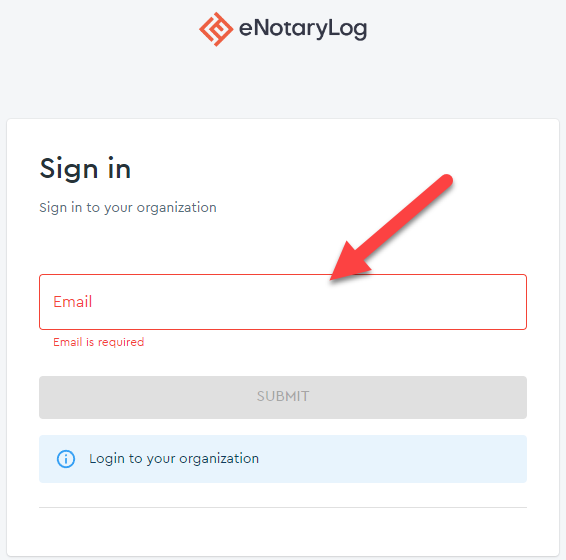
1. Sign In
First, access the eNotaryLog platform by signing into your account. Use your credentials to log in securely.

2. Navigate to Your Profile
Once logged in, locate your profile icon on the top right of the dashboard. This is where you access personal settings and certificate management.

3. Access the Notary Tab
In your profile, find the "Notary" tab. This section contains all notary-related settings and tools.

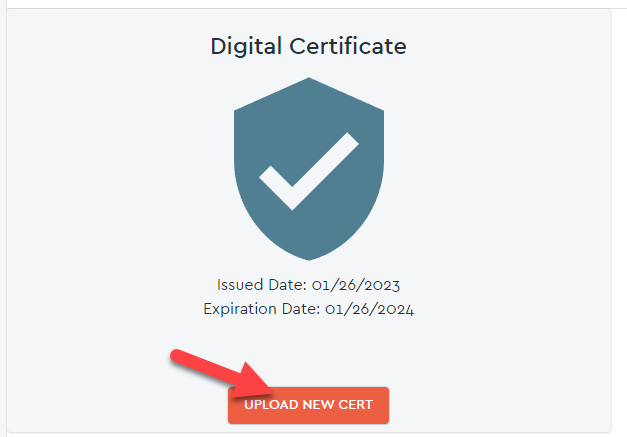
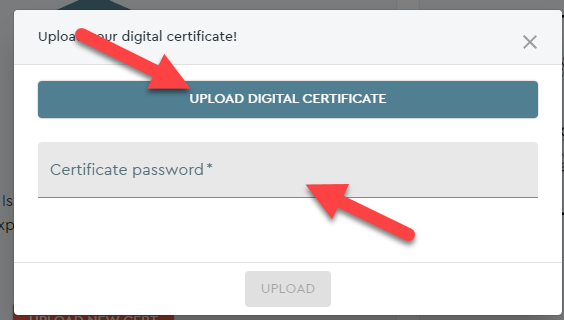
4. Upload Your Digital Certificate
Look for the option to upload your digital certificate in the Notary tab. Select the certificate file from your computer for uploading.


5. Verify Your Certificate
Once uploaded, a pdf file that has been sealed with your digital certificate will automatically be generated and downloaded.
You can also submit this to any Secretary of State that required a document sealed with your digital certificate.

6. Additional Settings and Features
Explore additional settings and features in the Notary tab, such as commssion information, eSeal management and more!

7. Save Changes
Remember to save any changes you make. Look for a 'Save' button to ensure your changes are applied.

8. Seek Help if Needed
For any specific questions or concerns regarding updating your notary profile, please consult the official documentation or reach out to our support team for assistance.